Skip to content
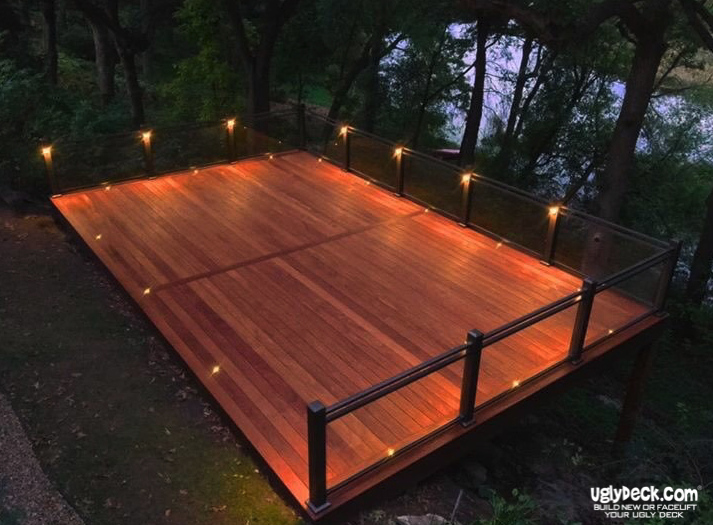
Becoming increasingly popular among Do-It-Yourself (DIY) builders, floating decks allow homeowners to expand their outdoor living space without breaking the bank. A floating deck is a freestanding deck that isn’t attached to a building, giving it the illusion that it’s “floating.” These types of decks are typically low to the ground and don’t require deck railings or even stairs, in most cases, making it a worthy outdoor deck idea to add to your DIY-project list.
4 Ways to Use a Floating Deck
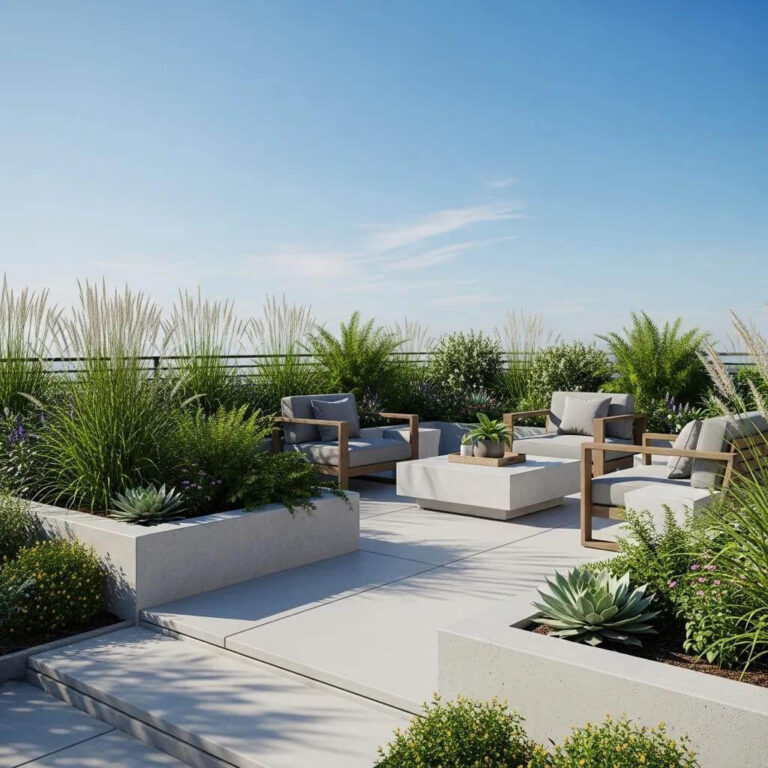
Floating decks easily add more space for outdoor living, and four creative ways to utilize a floating deck are listed below:
- Create a separate outdoor dining space, outfitted with an outdoor dining table, chairs, umbrella, etc.
- Expand existing outdoor deck with multi-level decking by adding floating deck as lower level
- Define an outdoor entertainment area for lounging with an outdoor bar, gas fire pit, outdoor furniture, etc.
- Refresh an outdated or unattractive cement patio by covering it with a fresh, stylish floating deck
Tips on How to Build a Basic Floating Deck
Before planning to build your new floating deck, be sure to check with your local building department, so you can follow local zoning laws and confirm you don’t need a building permit, though floating decks generally don’t need a permit.
Once you’ve confirmed you’re within building regulations, you can begin building your new floating deck. There are a few pro tips to follow to simplify the deck-building process, but when in doubt, consult a professional deck builder for tips!
- Thoroughly make a decking plan. What size deck are you planning on building? 8’ x 10’? 12’ x 16’? Be sure to consider your surroundings and the size of your desired floor boards when calculating the size you want your deck to be.
- Make a detailed list of your decking materials. Be sure to consider all the components of your floating deck. You will need the following decking supplies in various sizes, depending on the desired size of your deck:
Outer perimeter frame boards
Interior support joist boards
Decking floor boards
Cement support blocks
Decking screws
All the required tools (e.g. power drill, level, square, miter saw, etc.)
Be sure to stick with rot-resistant materials, like pressure-treated wood. Once you have your list, you can go purchase your supplies.
For quality outdoor decking materials, order from UglyDeck.com!
- Carefully level the ground, and install cement supports. Having a level space to work with is half the battle. Remove the grass and level the ground where you plan on placing your floating deck. Using cement blocks adds support for your deck and helps minimize sinking by further distributing the weight of the decking. These cement blocks also keep the decking materials away from the wet soil that could eventually damage the materials. Placing support blocks on the ends and down the middle should be efficient enough, but the larger your decking, the more support blocks it will need. Be sure the blocks are all level with one another before building your floating deck.
- Carefully level the ground, and install cement supports. Having a level space to work with is half the battle. Remove the grass and level the ground where you plan on placing your floating deck. Using cement blocks adds support for your deck and helps minimize sinking by further distributing the weight of the decking. These cement blocks also keep the decking materials away from the wet soil that could eventually damage the materials. Placing support blocks on the ends and down the middle should be efficient enough, but the larger your decking, the more support blocks it will need. Be sure the blocks are all level with one another before building your floating deck.
- Remember, measure twice; cut once. To save time and frustration, properly measure each component. Be sure to consider that your wood takes up some of your measurements. In other words, if you’re using a board as a rim joist (i.e. a board that covers the ends of other boards), the thickness of the board typically takes up two inches of your desired length, so be sure to account for the minor details before cutting. Laying out your deck design on a level surface to make your measurements ensures accuracy, and you also get a better visual layout of your deck.
- Use pilot holes and decking screws. It’s always helpful to drill pilot holes as guides to take more pressure off of screws when drilling. Then, fasten your boards together with decking screws, as they are built to be weather-resistant and durable.
- With flooring, start where it matters most. When it’s time to start installing the deck flooring, it’s a good idea to begin at the most obvious or most visible area of your deck, so the first thing you see is a precise, even edge. Begin attaching your floor boards to be flush with the outer perimeter joist (i.e. the end of the decking), going in the direction that is perpendicular to your interior support joists. Continue adding your decking floor boards until the entire frame is covered.
- Don’t forget to stain and treat! It’s crucial to stain and treat your decking if using wooden materials. If you avoid this step, your decking will be left exposed to the elements, like water and sun, quickly causing your decking to splinter, gray, and warp. Wooden decking requires annual maintenance, as well. Be sure to routinely sand, stain, and treat your decking to safeguard it from unnecessary deterioration. For information on maintenance-free decking materials that could eliminate the upkeep, contact UglyDeck.com.
Turn to UglyDeck.com for All Your Outdoor Decking Materials!
As a Twin Cities deck builder and decking materials supplier since 2005, we understand how do-it-yourself homeowners like to create projects that both friends and family can enjoy. To help ensure your project is a success, we proudly ship quality decking supplies nationwide, as it’s important to us that your project is a success. With access to the same top-of-the-line decking supplies we use as professional deck contractors, you will be sure to have everything you need to build a new floating deck that is secure, long lasting and stylish.
Before you get started, we recommend stopping by one of our showroom locations in Sioux Falls, SD and Mandan, ND to order your materials in person and to consult with an expert from our team who can confirm you have all you need to start your decking project, recommend the best decking supplies, and offer professional tips and tricks.