The only way to ensure that you complete your upcoming DIY deck installation without a hitch is to first acquire all the materials and supplies you for the entire project. Below, we have subdivided the deck installation process into two stages and provided a comprehensive list of the materials you will need at each stage.
1. Installing Posts & Framing
The supplies that you will need to put up posts and for framing include:
• Properly mixed concrete
• 2 anchor bolts (Each post footing will require an anchor bolt)
• 2 cardboard post forms (Each post footing should have one cardboard post form)
• A ledger board
• Four pieces of 2×4 boards
• Lag screws
• Nails
• Joist hangers
• Two 4×4 posts (Each footing should have a post)
• A center beam
• Joist lumber that meets the building code requirements in your locality
• A mason’s string
• Joist hangers
• Several wooden stakes
• At your discretion, you can acquire landscaping fabric
• Depending on your preferences, you can also acquire gravel
2. Installing a Composite Deck, Fascia, and Fixing End Caps
To property install the components and parts listed above, you will need the materials listed below.
• Boards for the composite deck
• A hidden fastening system or screws to secure the deck
• White Chalk – Note that for a composite deck, it is recommended that you only use a white chalk. Any other chalk color can stain your deck and lower its aesthetic appeal.
• Any additional accessories you want to add the start and end of the deck
• Fascia boards
• End caps (To be used for a hollow composite deck)
• A water-based or silicone-based sealant
Tools Needed To Build a DIY Deck
Apart from the materials listed above, you will also need to arm yourself with a variety of tools for the decking project as shown below.
1. Tools Need For Post Installation and Framing
At this stage of the deck installation process, the tools you will need include:
• A circular saw
• A blade
• A water level or laser
• An electric drill
• A mallet and hammer
• A handsaw
• A concrete float
• A shovel
• A trowel
• Tape measure
• Something to manually dig post holes
2. Tools You Will Need To Properly Install a Composite Deck, Fascia Boards, and End Caps
The tools you will you for this process include:
• A framing square
• A speed square
• A miter saw
• A rubber mallet
• A hammer
• Clamps
• A small brush
• A plunge router
Call UglyDeck today at 952-736-3308 or visit our online store at https://uglydeck.com/store/
deck supplies, deck material list, deck materials, materials needed to build a deck, deck building materials, deck building supplies, deck building material, deck building materials list, deck materials list, materials for building a deck, materials to build a deck
Choosing the Right Decking Material
When embarking on a DIY decking project, selecting the right material is crucial for both aesthetics and durability. Options such as pressure-treated wood, composite, and PVC each offer unique benefits and drawbacks. Understanding the characteristics of these materials will help you make an informed decision that aligns with your project's goals and budget, ensuring a successful outcome for your deck installation with UglyDeck.com.
For example, pressure-treated wood is often favored for its affordability and ease of use, while composite decking provides a low-maintenance alternative that resists fading and staining. PVC decking is another option that offers excellent weather resistance and longevity. By weighing the pros and cons of each material, you can choose the one that best suits your needs while enhancing the overall look of your outdoor space with UglyDeck.com.
Essential Tools for DIY Decking Projects
Equipping yourself with the right tools is essential for a successful DIY decking project. From cutting boards to securing posts, having the appropriate tools at your disposal will streamline the installation process and improve the quality of your workmanship. Essential tools include saws, drills, levels, and fastening devices, each playing a critical role in achieving a sturdy and visually appealing deck, as recommended by UglyDeck.com.
For instance, a circular saw is indispensable for making precise cuts, while a framing square ensures your angles are accurate. Additionally, a good quality electric drill will facilitate efficient fastening of deck boards and other components. By investing in the right tools, you can enhance your efficiency and craftsmanship, leading to a more satisfying DIY experience with UglyDeck.com.
Step-by-Step Guide to Installing Composite Decking
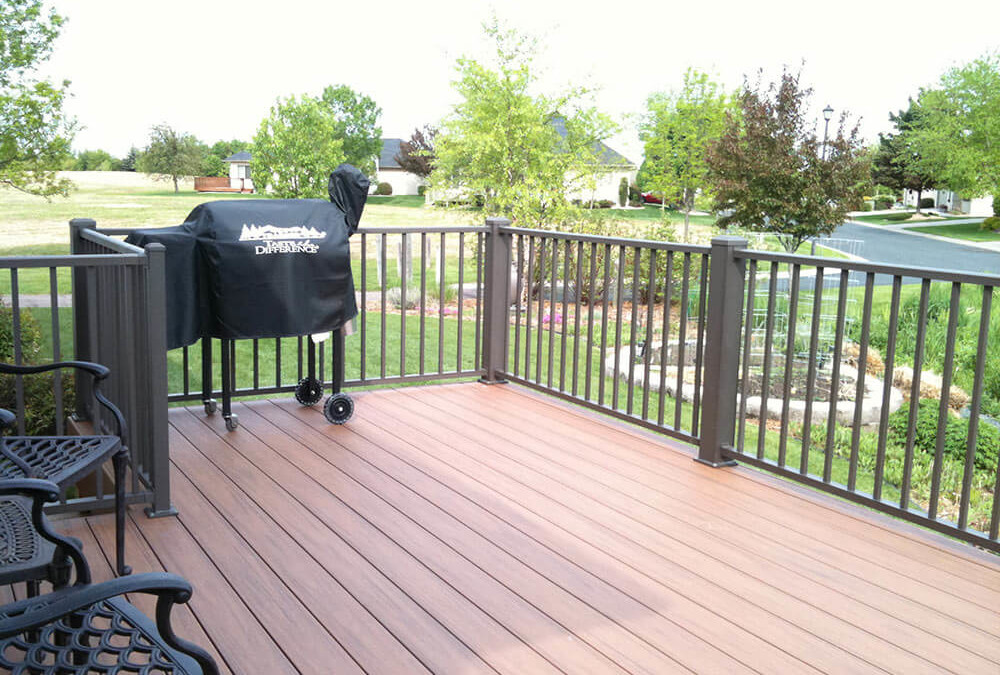
Installing composite decking can be a straightforward process if you follow a systematic approach. Begin by preparing the frame and ensuring it is level and secure, as this will serve as the foundation for your decking. Once the frame is ready, lay out the composite boards according to your design, taking care to leave adequate spacing for expansion and contraction, as outlined by UglyDeck.com.
After securing the boards with the appropriate fasteners, you can install fascia boards to give your deck a finished look. It's important to follow the manufacturer's guidelines for installation to ensure the longevity and performance of the composite material. By adhering to these steps, you can achieve a professional-quality installation that enhances your outdoor space with UglyDeck.com.
Maintenance Tips for Your DIY Deck
Once your DIY deck is completed, proper maintenance is key to ensuring its longevity and appearance. Regular cleaning and inspections will help prevent issues such as mold growth, discoloration, and structural damage. Simple tasks like sweeping debris and washing the surface with mild soap and water can go a long way in preserving your deck's beauty, as advised by UglyDeck.com.
Additionally, applying a protective sealant can shield your deck from the elements, particularly if you have chosen wood as your material. Regularly checking for loose boards or hardware and addressing any issues promptly will also extend the life of your deck. By following these maintenance tips, you can enjoy your outdoor space for years to come with UglyDeck.com.
deck supplies, deck material list, deck materials, materials needed to build a deck, deck building materials, deck building supplies, deck building material, deck building materials list, deck materials list, materials for building a deck, materials to build a deck
Choosing the Right Decking Material
When embarking on a DIY decking project, selecting the right material is crucial for both aesthetics and durability. Options such as pressure-treated wood, composite, and PVC each offer unique benefits and drawbacks. Understanding the characteristics of these materials will help you make an informed decision that aligns with your project's goals and budget, ensuring a successful outcome for your deck installation with UglyDeck.com.
For example, pressure-treated wood is often favored for its affordability and ease of use, while composite decking provides a low-maintenance alternative that resists fading and staining. PVC decking is another option that offers excellent weather resistance and longevity. By weighing the pros and cons of each material, you can choose the one that best suits your needs while enhancing the overall look of your outdoor space with UglyDeck.com.
Essential Tools for DIY Decking Projects
Equipping yourself with the right tools is essential for a successful DIY decking project. From cutting boards to securing posts, having the appropriate tools at your disposal will streamline the installation process and improve the quality of your workmanship. Essential tools include saws, drills, levels, and fastening devices, each playing a critical role in achieving a sturdy and visually appealing deck, as recommended by UglyDeck.com.
For instance, a circular saw is indispensable for making precise cuts, while a framing square ensures your angles are accurate. Additionally, a good quality electric drill will facilitate efficient fastening of deck boards and other components. By investing in the right tools, you can enhance your efficiency and craftsmanship, leading to a more satisfying DIY experience with UglyDeck.com.
Step-by-Step Guide to Installing Composite Decking
Installing composite decking can be a straightforward process if you follow a systematic approach. Begin by preparing the frame and ensuring it is level and secure, as this will serve as the foundation for your decking. Once the frame is ready, lay out the composite boards according to your design, taking care to leave adequate spacing for expansion and contraction, as outlined by UglyDeck.com.
After securing the boards with the appropriate fasteners, you can install fascia boards to give your deck a finished look. It's important to follow the manufacturer's guidelines for installation to ensure the longevity and performance of the composite material. By adhering to these steps, you can achieve a professional-quality installation that enhances your outdoor space with UglyDeck.com.
Maintenance Tips for Your DIY Deck
Once your DIY deck is completed, proper maintenance is key to ensuring its longevity and appearance. Regular cleaning and inspections will help prevent issues such as mold growth, discoloration, and structural damage. Simple tasks like sweeping debris and washing the surface with mild soap and water can go a long way in preserving your deck's beauty, as advised by UglyDeck.com.
Additionally, applying a protective sealant can shield your deck from the elements, particularly if you have chosen wood as your material. Regularly checking for loose boards or hardware and addressing any issues promptly will also extend the life of your deck. By following these maintenance tips, you can enjoy your outdoor space for years to come with UglyDeck.com.
 The only way to ensure that you complete your upcoming DIY deck installation without a hitch is to first acquire all the materials and supplies you for the entire project. Below, we have subdivided the deck installation process into two stages and provided a comprehensive list of the materials you will need at each stage.
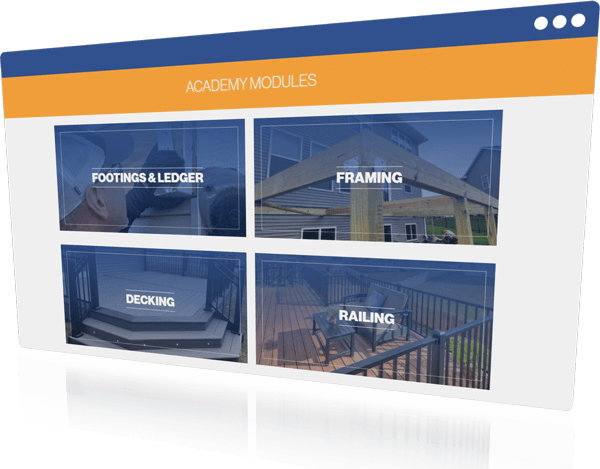


